How to initialize a bitcoin multisig wallet using Electrum
This basic tutorial assumes that you have already initialized your hardware wallet. The goal is to ensure that everyone is on the same page with regard to initializing a multisig wallet using Electrum. It is by no means comprehensive. If you would prefer a more in-depth video, please watch “How To Use Multisig Bitcoin Wallets With Electrum”

Download and install Electrum
The only credible sources for Electrum are https://electrum.org/ and https://github.com/spesmilo/electrum/. As always, you should take a moment to verify the digital signature of your download before installing.

Create a new wallet
We want to make a multi-signature wallet.

Select a multisig scheme
This step will depend on how many people definitely want to participate. The threshold for spending funds will be a simple majority.

Add your cosigning key
I will be using a hardware device, but in theory you can create a new seed too, but be sure to write it down on paper!
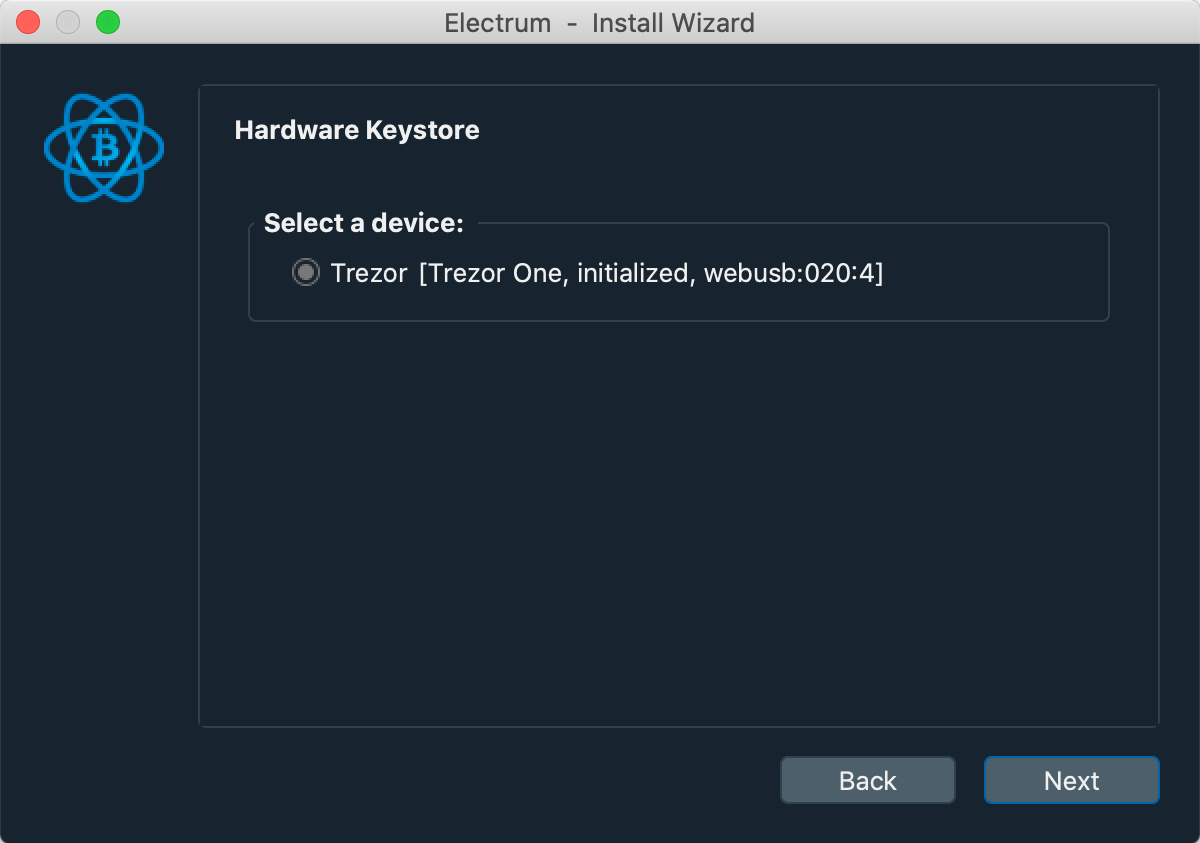
Select your Hardware Keystore
I am using a Trezor One. It has already been initialized and plugged in.
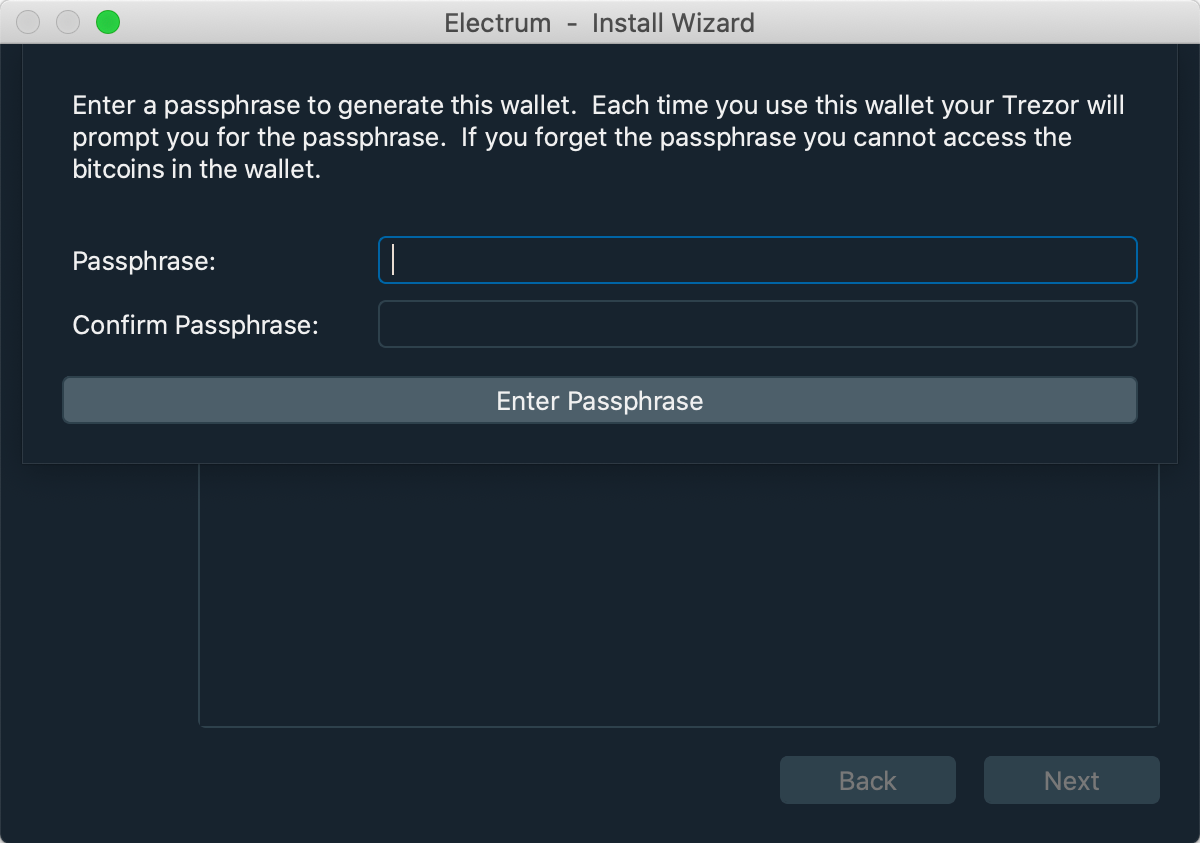
Add an extra passphrase
It’s recommended to use a passphrase unique to this project so that a unique master public key is generated which will not reveal previous wallet activity. Further reading here.

Confirm your extra passphrase
If you choose to enable an extra passphrase, it is very important for you to write it down, either with your seed or separately.

Select p2wsh as the address type.
It’s important that we all select ‘native segwit multisig (p2wsh) or else we will get errors later. If you change the derivation path, make a note of it in case you need to restore later.

Master Public Key
This should be a unique MPK that you have not used before, which should be shared with your fellow cosigners. In order for this to work, everyone needs a copy of everyone else’s master public key.

QR Code
You can share the QR code containing the MPK too. This can be helpful for transfering MPKs between computers since they can be scanned with an air-gapped webcam.

Provide cosigner Master Public Keys
In the next several screens, you will be prompted to add a Master Public Key for every cosigner. This step is crucial for finalizing the multisig wallet, and nobody can finish setting up until all Master Public Key's have been shared among cosigners.
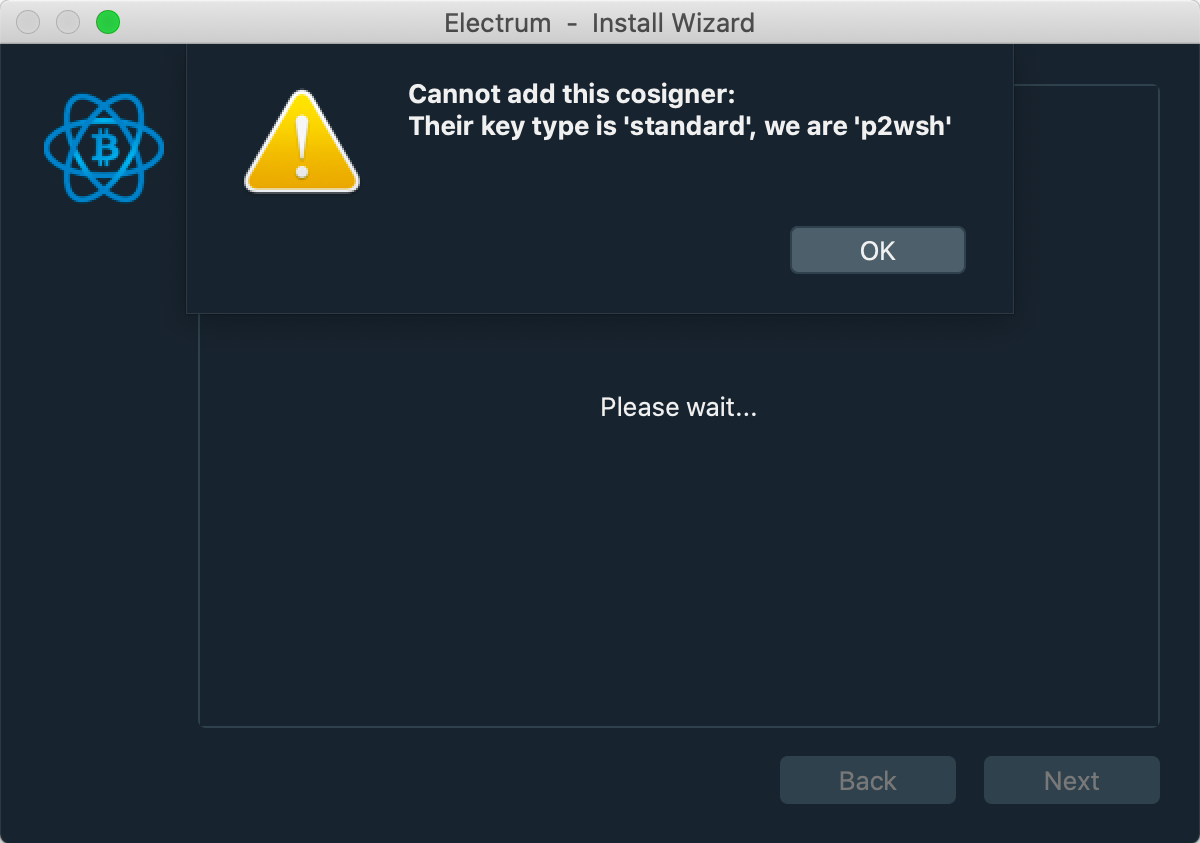
Error
This is the error your cosigners will receive if you do not use the native segwit address type.

Encrypt your wallet
This step is optional and only encrypts your wallet locally. As long as you have your seed and your (optional) 25th word passphrase backed up on paper, the wallet password is not mission critical.

Verify cosigners
In the Wallet Information menu, you should be able to verify all cosigners and their respective public keys. Your multisig wallet is now initialized.
It is best practice to verify that the initial receiving address matches for you and all other cosigners. It’s also strongly encouraged to test the wallet by receiving and then sending a small amount of bitcoin to ensure that everything is working properly.
Congratulations, you have initialized a multisig wallet using Electrum!